As a professional handyman in East Los Angeles, I recently tackled a project that involved installing safety bars into tile. This task is crucial for enhancing home safety and accessibility, particularly in bathrooms or other areas where additional support may be needed. Below, I detail the process, emphasizing the importance of precision and the right tools in handyman services.
Expanding upon our dedication to providing exceptional home safety enhancements, we are excited to announce that our expert shower grab bar installation services now reach even further beyond East Los Angeles, covering a wider array of communities within a 10-mile radius of Monterey Park, CA. Our extended service area now includes, but is not limited to, Whittier, La Puente, Pasadena, Commerce, and El Monte, in addition to previously mentioned areas such as Alhambra, San Gabriel, Rosemead, South Pasadena, and Montebello. Our mission is to ensure that residents in these communities have access to our professional, reliable installations designed to improve the safety and accessibility of their bathrooms. With Happy Family Handyman Service, you can count on receiving the highest quality of service, no matter where you are located within our comprehensive service range.
Step 1: Positioning the Safety Bars
Before beginning, it’s essential to determine the optimal placement for the safety bars. This step is crucial because, unlike drywall, once you drill into tile, there’s no easy way to undo it. As an experienced handyman, I take extra care in this planning phase to ensure the best outcome for my clients.
Step 2: Marking and Preparing for Drilling
The next step involves marking the drilling points and preparing the necessary tools. For a successful installation, you need a reliable drill, specialized tile drill bits, appropriate anchors, and bath-rated silicone. This preparation is key to a smooth handyman service.
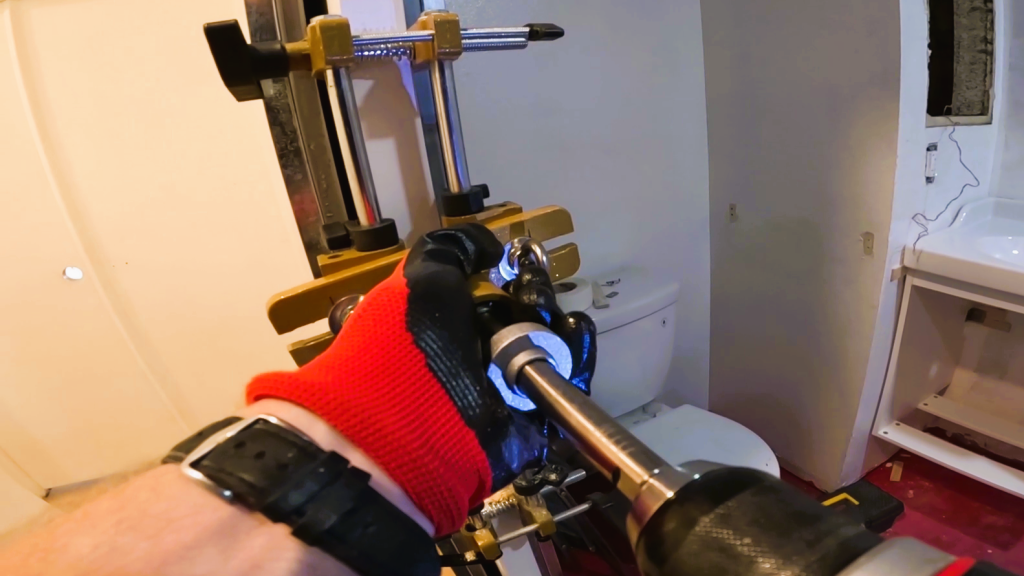
Step 3: Drilling into the Tile
Drilling into tile requires precision and the right technique. I use a drill with a hammer mode for harder tiles, which reduces bit heating and speeds up the process. For softer tiles, a regular drilling mode suffices. A pro tip for those in handyman services: if the tile is particularly hard, start with a smaller drill bit and gradually increase the size to avoid damage.
Step 4: Installing Anchors
Choosing the right size anchors is crucial for the stability of the safety bars. In many cases, attaching the bars directly to studs isn’t feasible, especially when tiles extend to the ceiling. As an experienced handyman, I ensure that the anchors are installed securely, regardless of the stud placement.
Step 5: Applying Silicone and Finishing Touches
To prevent water damage and corrosion, I apply a silicone bead around the anchors and mounting holes. This step is vital for maintaining the integrity of the wall and the longevity of the installation. Adding decorative covers to the brackets provides a clean, finished look, a hallmark of quality handyman services.
Conclusion: Trust Your Local Handyman for Safe and Professional Installations
In conclusion, installing safety bars into tile requires a skilled hand and attention to detail. As your local East Los Angeles handyman, I am committed to providing top-notch services that ensure safety and satisfaction. For all your handyman needs, from simple repairs to complex installations, feel free to contact me.